Best Ring Lights and Mics for Reels Creators in 2026
- Primary Signal: Best Ring Lights and Mics for Reels Creators in 2026
- Overview: Bad light and bad audio kill more Reels than bad ideas. A decent ring light and a small wireless mic cost less than a new phone — and they change how your videos look and sound....
- Verification: Analyzed and compiled by ReelHub Live editorial monitoring desk.
Watch two Reels back to back, one filmed in a dim room with echoey phone audio and one filmed with a ring light and a clip-on microphone, and the difference is obvious before either creator says a word. Lighting and audio are the two cheapest upgrades in content creation, and they matter more than a better camera, because a phone from the last few years already records good enough video. What it cannot do on its own is light your face evenly or capture your voice clearly from arm's length. A ring light and a wireless mic fix both problems for less than the cost of a dinner out, and this guide covers what to buy, what to skip, and how to use them.
Ring Lights: Size, Colour Temperature, and What Matters
A ring light is a circle of LEDs that sits around your phone and throws soft, even light on your face, removing the harsh shadows that make phone video look amateur. For most creators, a 12-inch ring light is the sweet spot: big enough to light your face and shoulders evenly, small enough to carry and store. Budget kits such as the UBeesize 12-inch model combine the light with a 62-inch tripod stand and a phone holder in one box, and offer three colour modes so you can match warm indoor light or cool daylight. If you film full-body or product videos, step up to an 18 or 19-inch light such as the Neewer 19-inch model, which offers colour temperature from 3200K warm to 5600K daylight and brightness from zero to one hundred percent. The numbers that matter are colour temperature range and dimming control, not the number of LEDs on the box. A light with adjustable warmth and brightness will serve you for years, while a fixed-colour cheap light will be replaced within months.
Microphones: Why Audio Is Your First Upgrade
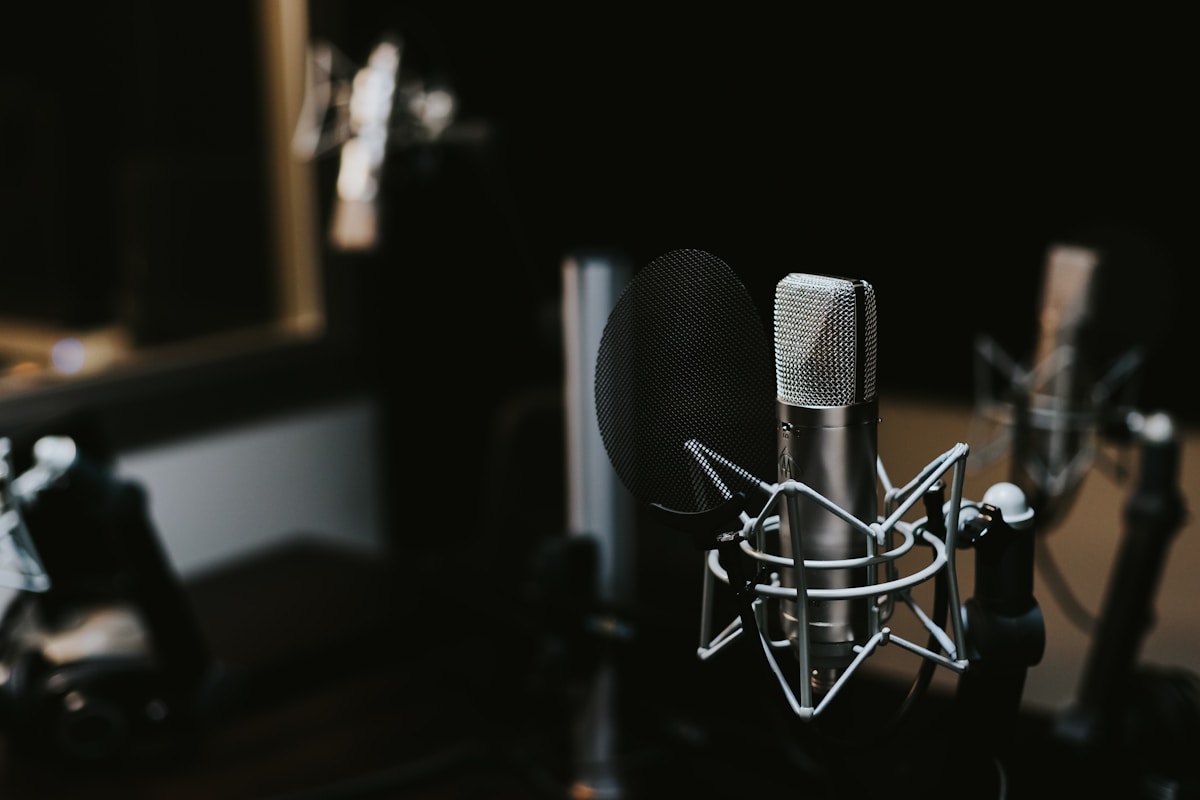
If you can only buy one thing, buy the microphone first. Viewers forgive a slightly dark video, but they leave a video they cannot hear, and phone microphones pick up room echo, traffic, and every sound in the house. A wireless lavalier microphone clips close to your voice and sends clean audio to your phone, which is the single biggest quality jump a creator can make. The DJI Mic Mini is a good example of the current standard: an ultralight 10-gram transmitter with two-level noise cancellation and up to 11.5 hours of transmitter runtime, stretching to 48 hours with the charging case. Cheaper options exist, including wired lavalier mics that plug straight into your phone, and they are a fine starting point if your budget is tight. Whatever you buy, test it before you film: record thirty seconds in the room where you actually shoot, play it back, and listen for echo, hiss, and background noise before you commit to a full video.
Complete Kits and What to Skip
All-in-one vlogging kits bundle a ring light, a tripod, and a wireless mic in a single package, and for beginners they are often the best value, because everything is designed to work together. Look for kits with a tripod that extends to at least 60 inches, a phone holder that fits your phone with its case on, and a mic with a stated battery life of several hours rather than minutes. Skip the extras that look impressive in the listing but add nothing: coloured RGB modes you will never use, remote controls that get lost, and extra phone holders for phones you do not own. Skip the cheapest no-name lights with no stated colour temperature, because their light is often green or harsh and cannot be fixed in editing. And skip buying a camera before you have fixed light and audio, because a good camera in a dark room with bad sound still looks like a bad video.
How to Use Your Light and Mic Properly
Gear only helps if you use it right, and three habits make the difference. First, position the ring light at eye level and slightly in front of you, not above, because light from above creates shadows under your eyes and chin. Keep the light close enough to be soft and bright, usually an arm's length away, and dim it until your face looks natural rather than washed out. Second, clip the microphone about fifteen centimetres below your chin, on the side facing the camera, and hide the cable or transmitter behind your collar so it does not distract. Third, record a ten-second test before every session and listen to it with headphones, because a mic that slipped, a light that flickers, or a fan humming in the background is easy to fix before you film and impossible to fix after. Good lighting and clear audio are habits, not purchases, and the creators who test before they film are the ones whose videos always look professional.
Start with a microphone, add a 12-inch ring light with adjustable colour temperature, and put both on a tripod that holds your phone at eye level. Test before you film, keep the light close and the mic closer, and skip the gadgets you will never use. Your phone already shoots good enough video. Light and audio are what make it look like you meant it.
More from ReelHub Live